
A foundation is the single most consequential part of any structure. Every load the building carries, every seasonal shift in the ground, every year of exposure to moisture and frost passes through the foundation first. Build it correctly and the structure above stands solid for decades. Cut corners here and every repair you make later traces back to this first decision. This guide walks you through how to build a foundation from excavation to finished concrete, with the technical detail you need to do it right.
Site Preparation and Excavation
Proper site preparation is not optional. It determines whether your foundation will move or stay put over time.
Establish Your Grade
Survey the site and identify the lowest and highest points across the footprint. Your finished foundation top must sit at a consistent elevation, so grading the site before you dig saves time and prevents drainage problems later.
Dig to Frost Depth
Excavate to a depth that places the bottom of the footing below the local frost line. In colder climates this can be 36 to 48 inches. Shallow footings in freeze-thaw zones heave unpredictably and crack even well-built slabs above them.
Prepare the Sub-Base
Remove all organic material from the bottom of the excavation. Compact the exposed soil and add a four to six inch layer of compacted gravel as a drainage base before placing any concrete.
Verify Bearing Capacity
Soil that compresses under load causes settlement cracks.
For larger structures, a simple soil test confirms the bearing capacity and tells you whether you need to adjust the footing width or depth.
Formwork and Layout
Accurate formwork is the template for your foundation. Any error here transfers directly into the finished concrete.
The forms must be plumb, square, and braced well enough to hold the pressure of wet concrete without deflecting. Use batter boards and string lines to establish the exact perimeter before setting a single form panel.
Wet concrete exerts significant lateral pressure. Double-check that all form bracing is driven into undisturbed soil or pinned to adjacent framing so nothing shifts during the pour.
Check square by measuring the diagonal dimensions of your layout. Both diagonals must be equal within an eighth of an inch before you proceed.
Steel Reinforcement Placement
Concrete has excellent compressive strength but limited tensile strength. Rebar and wire mesh supply the tensile capacity that concrete lacks, preventing cracks from propagating through the section when the structure is under load.
Footing Reinforcement
Place two continuous horizontal bars in the lower third of the footing. Maintain a minimum three inch clearance from the bottom of the footing to protect the steel from moisture and carbonation over time.
Wall Reinforcement
Vertical dowels at 24 to 48 inch centers connect the footing to the stem wall above. These dowels transfer lateral loads between the two pours and keep them structurally integrated.
Slab Reinforcement
For slab-on-grade foundations, use a six by six inch welded wire mesh or rebar at 12 inch centers each way. Set reinforcement at mid-depth in the slab, not at the bottom, so it resists the tensile stress that occurs at the slab’s neutral axis.
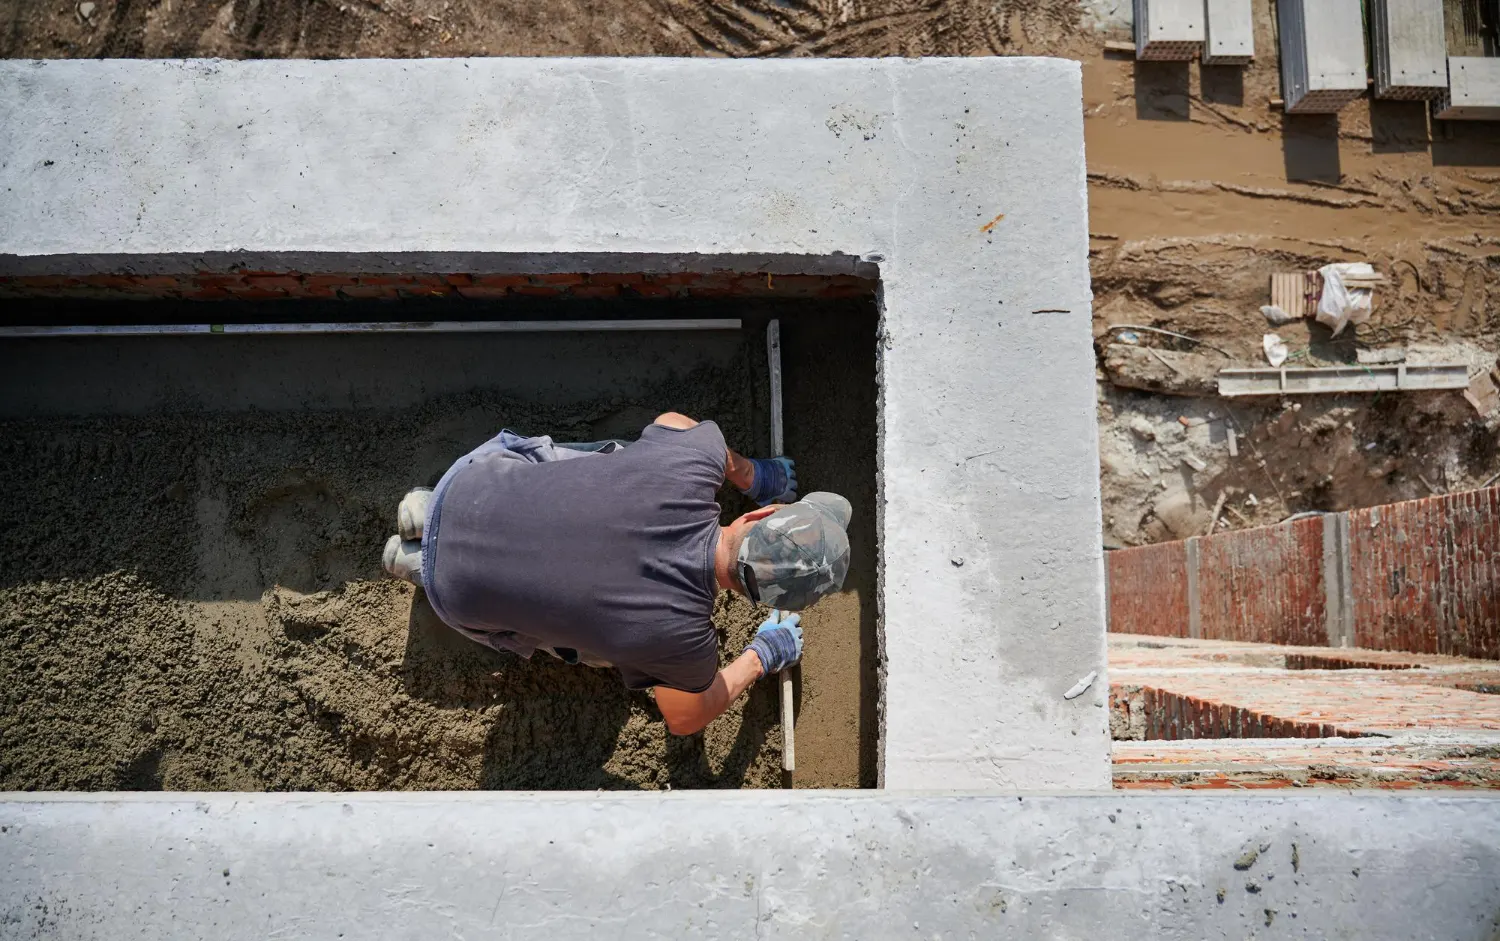
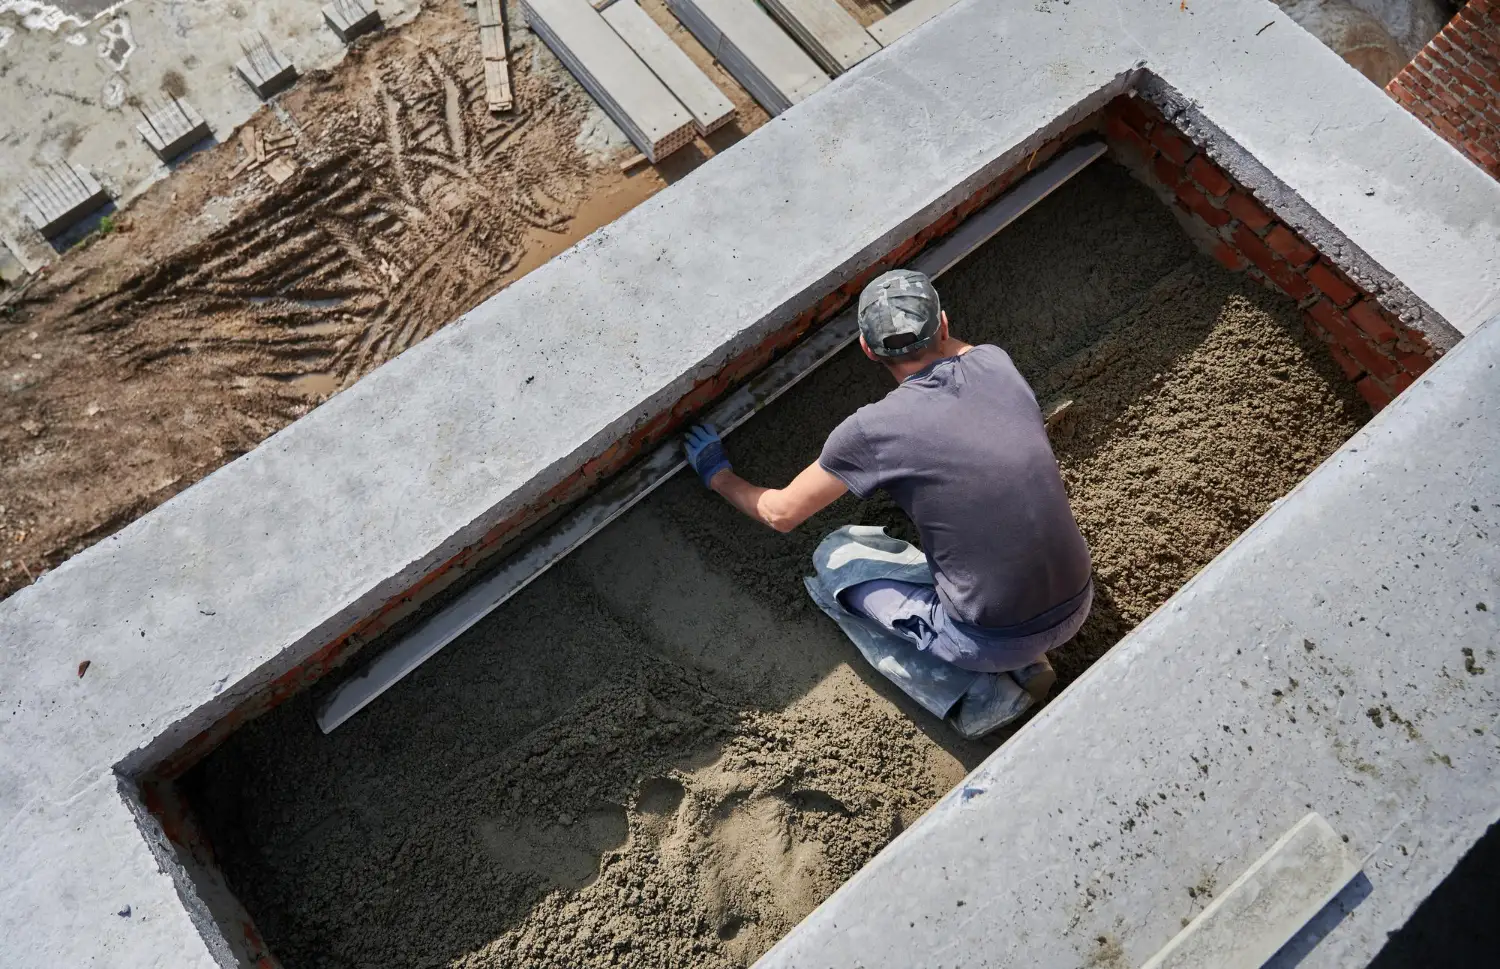
Concrete Placement and Consolidation
This is where the work of the previous stages either pays off or falls short.
Pour Sequence
Pour footings before walls, and walls before slabs. Each stage must cure sufficiently before the next load is applied. Typically 24 to 48 hours of cure time is sufficient before form stripping and continuation.
Consolidation
Use a vibrator to consolidate concrete immediately after placement. Vibration eliminates air voids and ensures the mix fully encases the reinforcement. A void beneath a rebar bar creates a corrosion path that weakens the section over years.
Finish and Grade the Surface
The top of the foundation wall must be flat and at the correct elevation before the concrete sets. Strike off the surface with a straight board and finish with a float. Any high spots or depressions that you leave now become framing problems later.